Here at S1E Ltd we supply quality products to the sewer and drainage market for trenchless repairs, and we get asked; “How do you pressure test a packer?”.
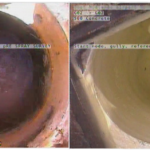
The pressure testing of drains is an excellent way to inspect, and repair installed plumbing and drainage systems. By pressure testing you can ensure that the integrity of the pipework and seals are intact to prevent water ingress and egress and to form a seal against root intrusion.
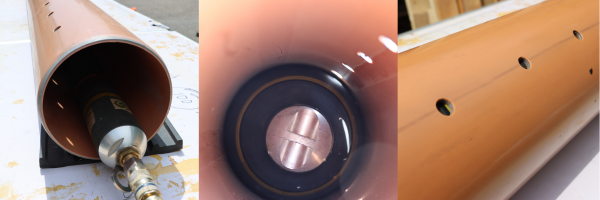
Any detected leaks, can normally be repaired by full lining or by using localised structural repairs, commonly called ‘patch’ repairs. Patch repairs are installed using an inflatable rubber packer, and it is critical that the contractor carrying out such repairs knows what pressure to inflate the packer to.
Every packer that S1E supplies will have a bonded label giving the diameters that the packer can be inflated to and also the maximum inflation pressure. On a 100mm-150mm packer, for example, this maximum pressure will be between 2.5bar and 3.5bar, depending on the manufacturer. The packer manufacturer is confident that their packer can withstand such pressure without bursting or blowing the metal ends off.
What the manufacturer doesn’t know is if the pipe being repaired can withstand that pressure!
This is where the contractor carrying out the repair, particularly on badly damaged pipes, should have carried out a ‘minimum’ pressure test on the packer to avoid damaging the pipe further and the strong possibility of damaging the packer beyond repair. (It is very rare that the maximum pressure be applied.)
How to pressure test a packer?
Should any drainage contractors be unsure of this procedure then S1E Ltd offer a one-day, WRc Approved training course on the safe and successful method of installing a patch. Please call the S1E Sales Team on 01226 397 015 or email contact@s1e.co.uk